I have been wanting to try shaped bokeh for a while. The new year was a good reason to actually do it for my greeting card. I will show you here how I proceeded.
First of all, what is bokeh?
It’s the blur in the background of a photograph. You get it by focusing on a foreground with a wide depth of field. Sometimes, when there is a source of light in the background, the lense diaphragm gives colourful spots. It’s the shaped of these spots that you can change thanks to a filter in front of the lens.
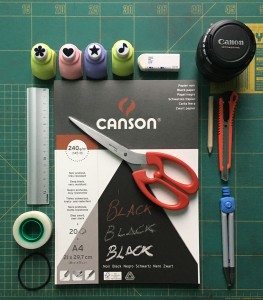
For this, you will need:
- a cutting mat
- thick black paper
- a pencil
- an eraser
- scissors
- an utility knife
- a ruler
- a compass
- adhesive tape
- a rubber band
- paper craft punches (optional if you can draw)
- a wide opening lense (here a 50mm f/1.4)
1. Draw a circle the size of your lense on the black paper and add 3 flaps.
2. Trace a smaller circle in the centre with a compass. This cercle should be slightly bigger than the shapes you will cut out later.
3. Cut out the big circle and the flaps with scissors.
4. Cut out the small circle with the utility knife.
5. Cut a piece of paper in the shape of a U to insert the shapes.
6. Tape the U on the bottom of the circle.
7. Cut out squares in a size adapted for insertion in your U.
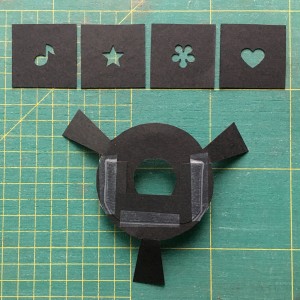
8. Create the shapes in the squares with the paper craft punches or cut the drawing you have done with the utility knife.
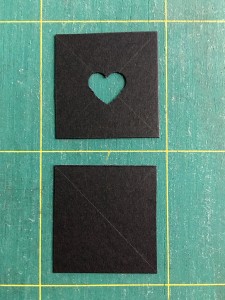
Tip: Draw the square diagonals to centre the paper craft punches correctly.
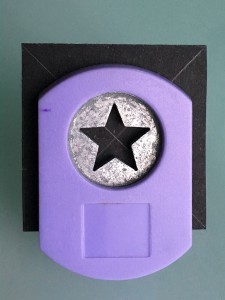
9. Insert the shape in the U and attach it all on the lens thanks to the rubber band.
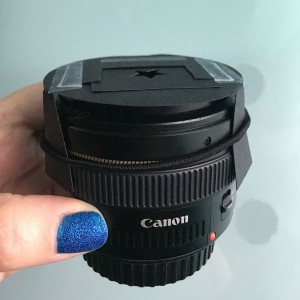
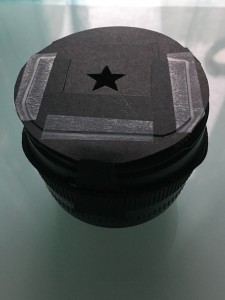
Gear is ready! You just have to try it 🙂
Here are my results for this first attempt:
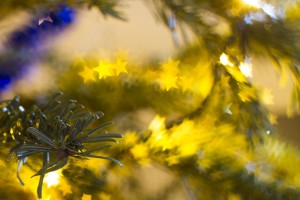
star filter
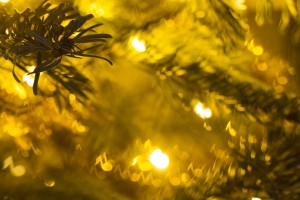
music note filter
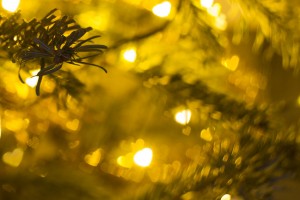
heart filter
PS: If you are not a do-it-yourselfer, you can buy it ready-made 😉
