A friend just launched her blog, which gives original ideas to live happier. If you can read French, you should have a look: Les curiosités d’Aurel.
Edit: The blog closed in 2019.
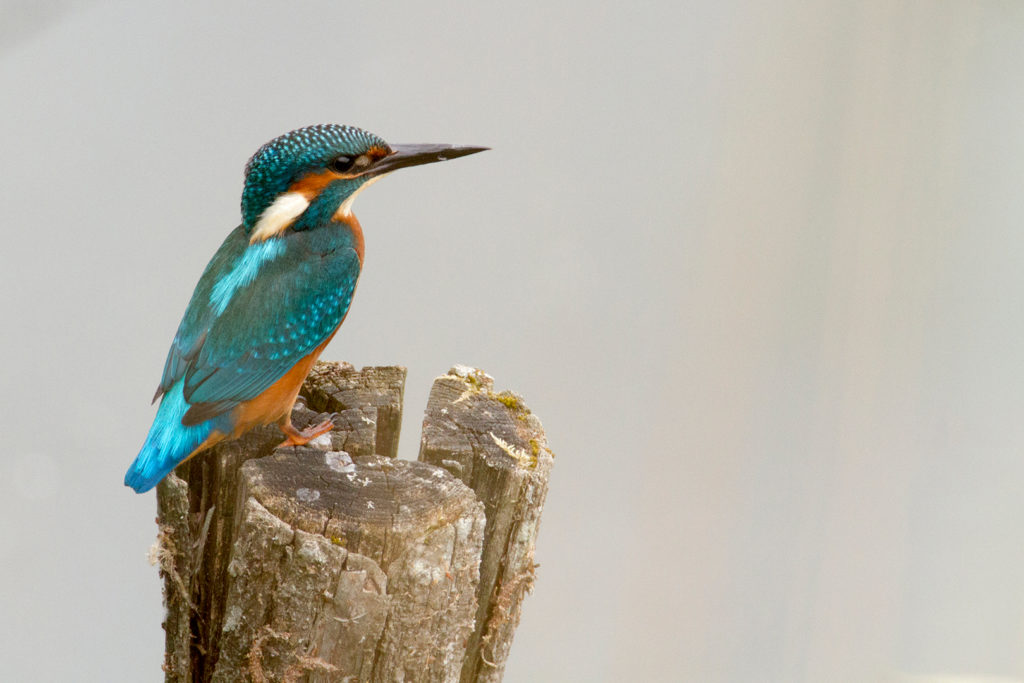
She asked me if I could lend her a photo to help her start and chose this one:
The size was not optimum for her site’s banner but problem, I had not enough material to just crop.
Luckily, the background was rather plain so I opted for a clipping in Photoshop. Here are the steps.
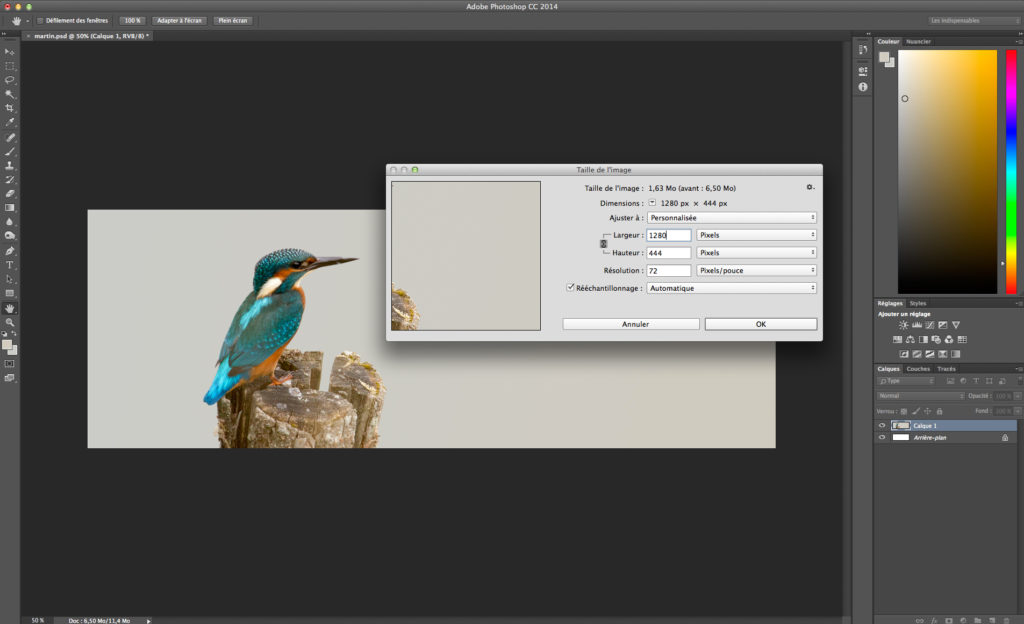
Aurel asked for an image at the size 1280 x 444.
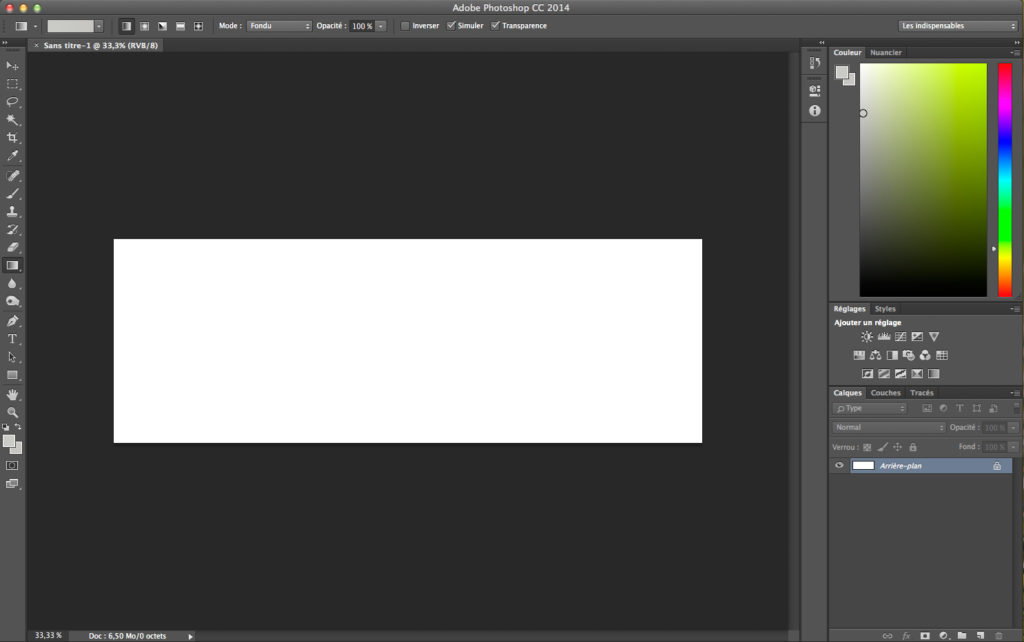
I created a work space twice that size to work more comfortably:

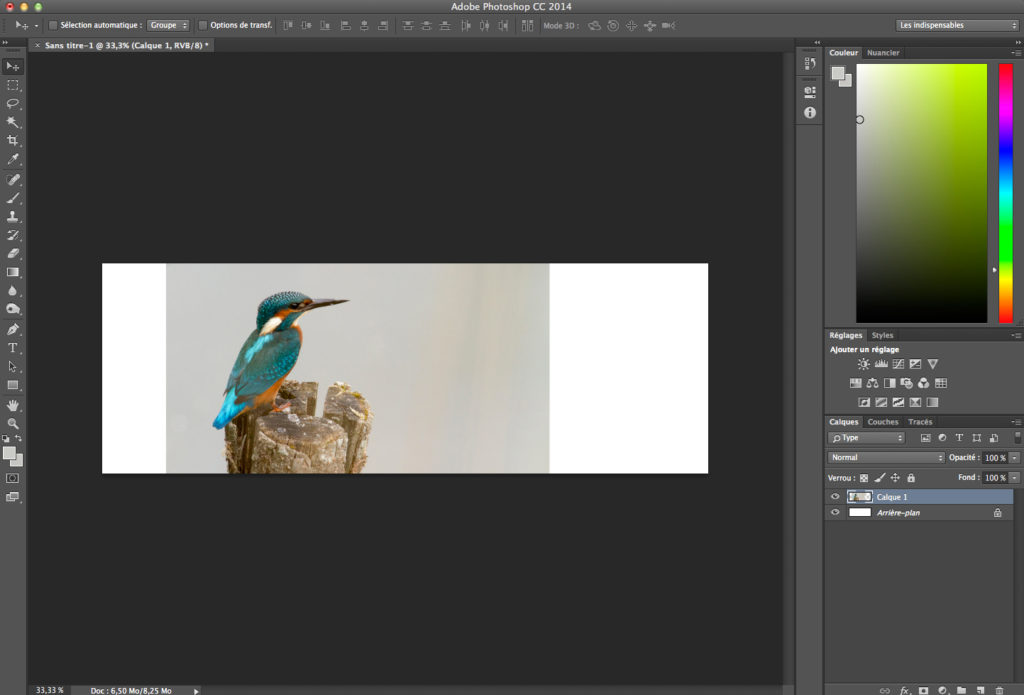
I then dragged the photo with the moving tool to the work space to have it as a layer:
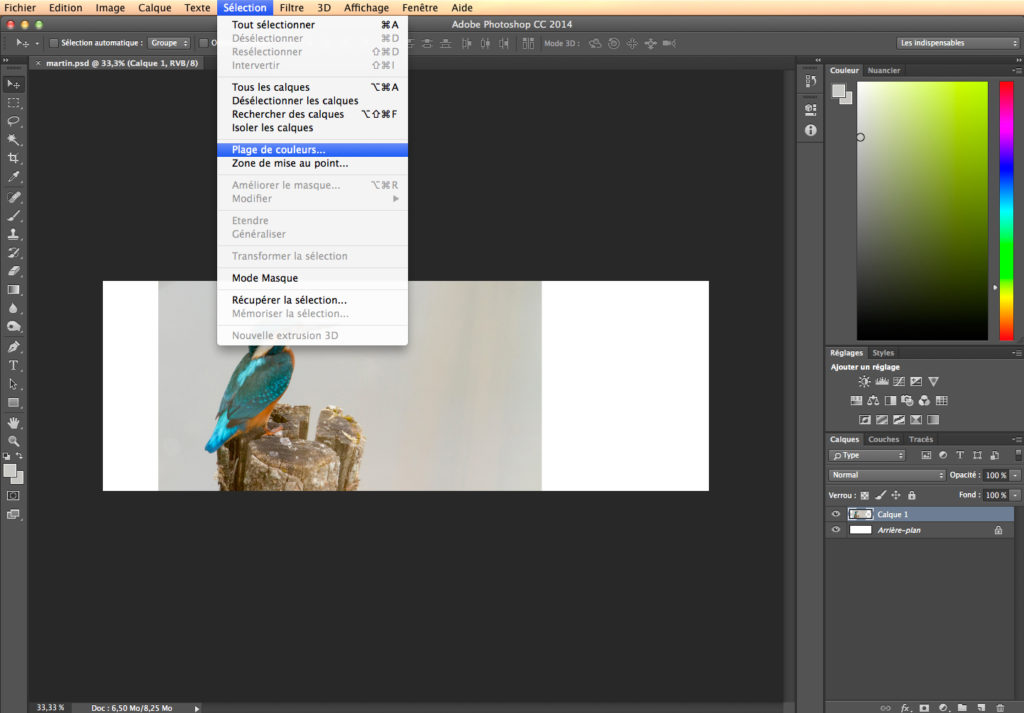
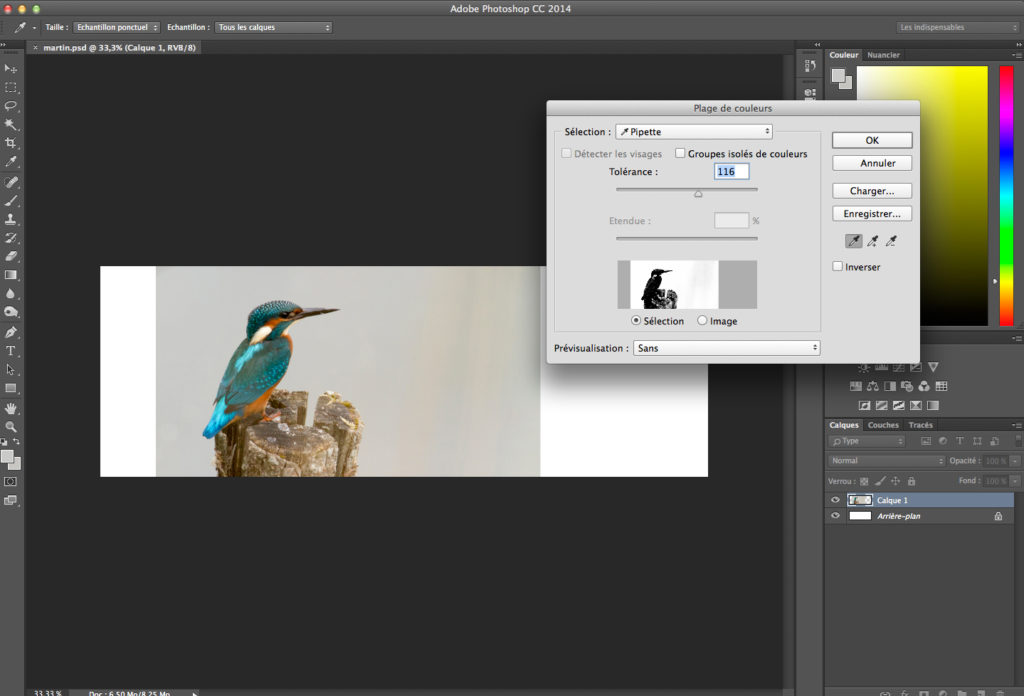
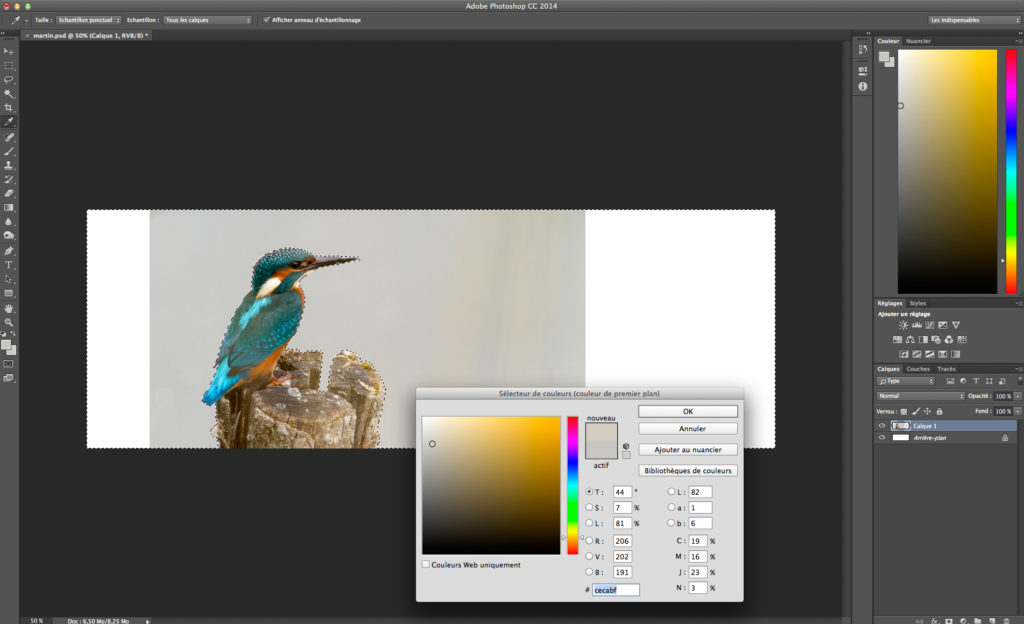
Next I chose the colour range selection and I clicked with the eyedropper tool in the grey area near the bird:
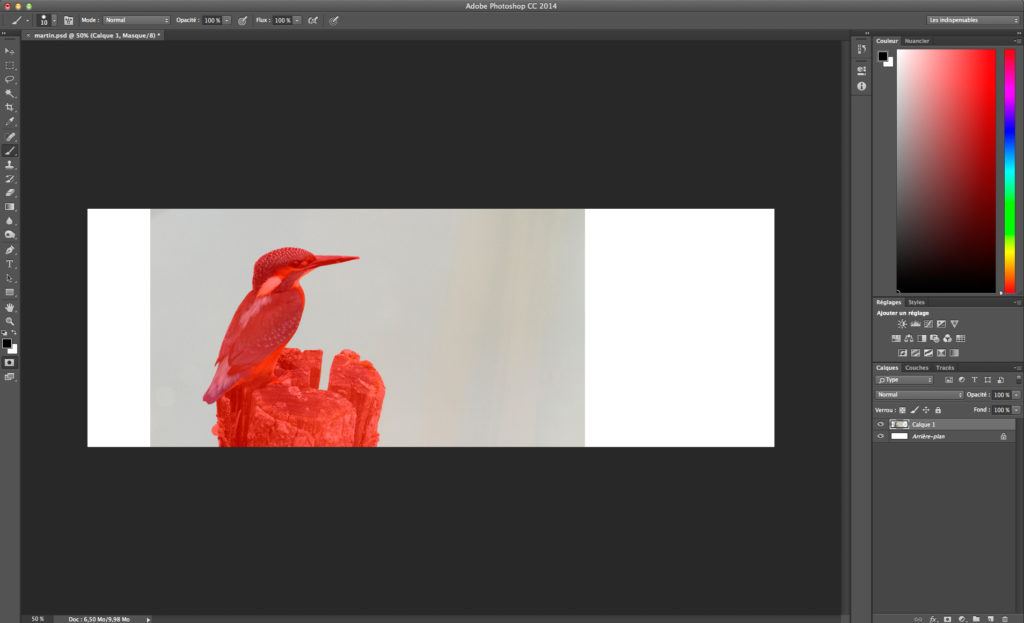
As the selection was not perfect, I activated the mask mode:
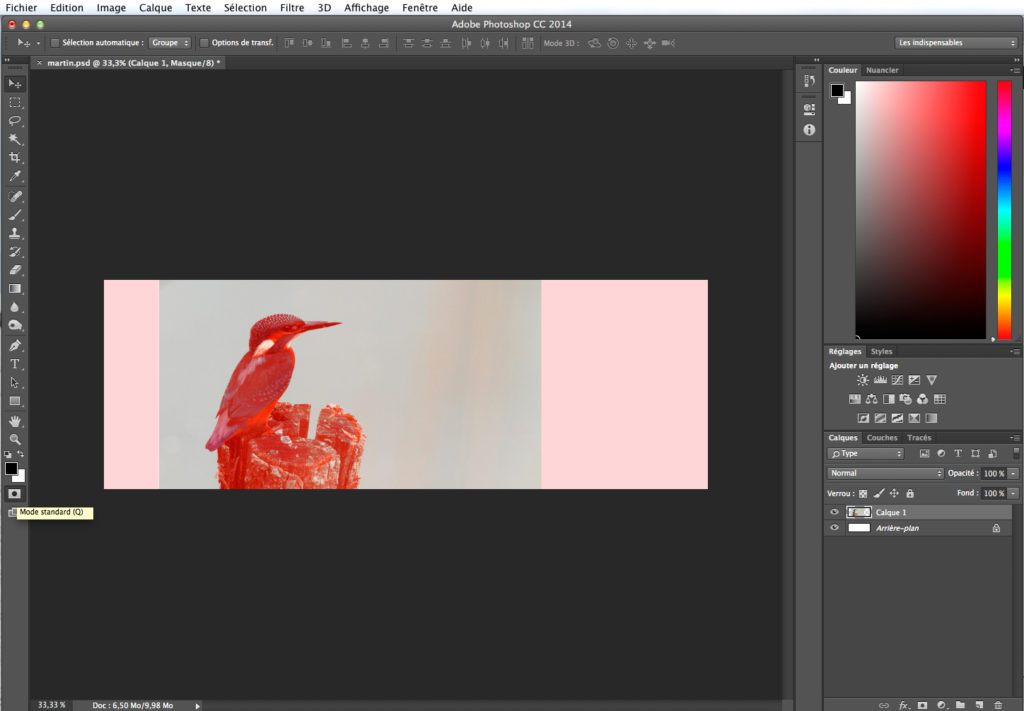
The selected part appears transparent while the red zone contains what is not selected. I used the brush tool to sharpen the selection:
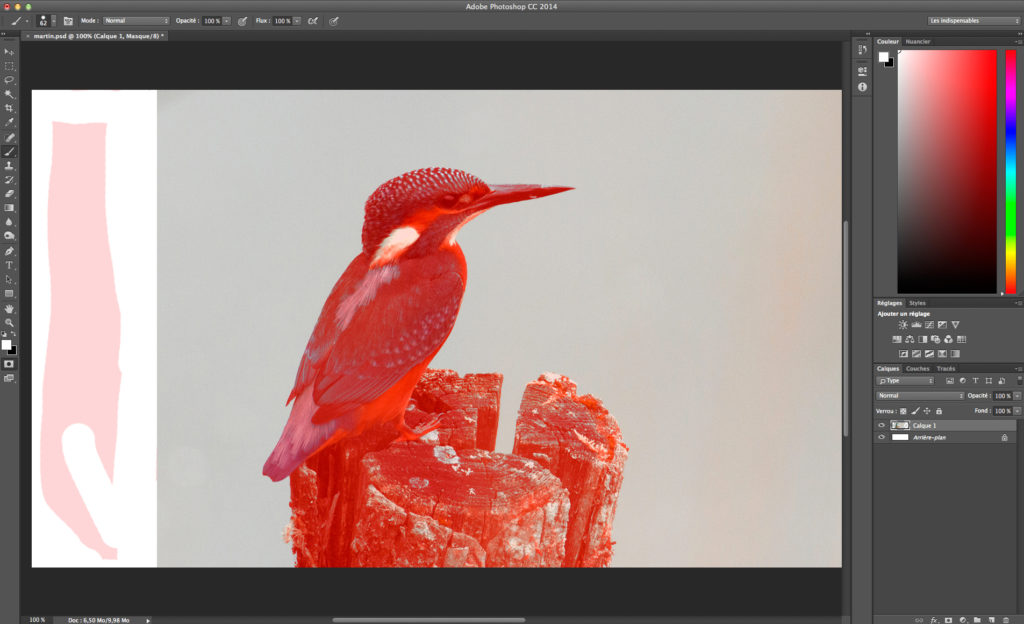
Here is the mask after using the brush:
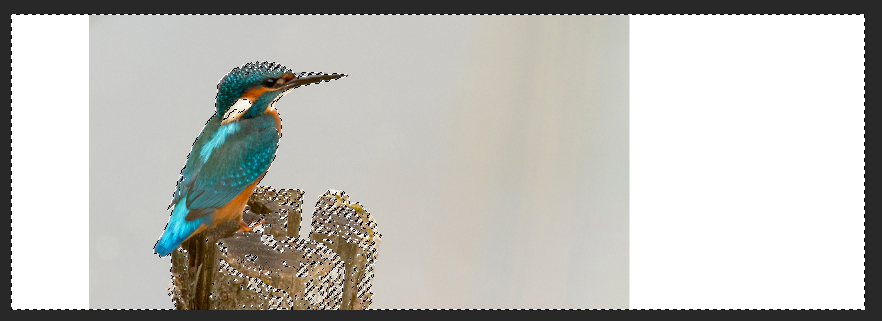
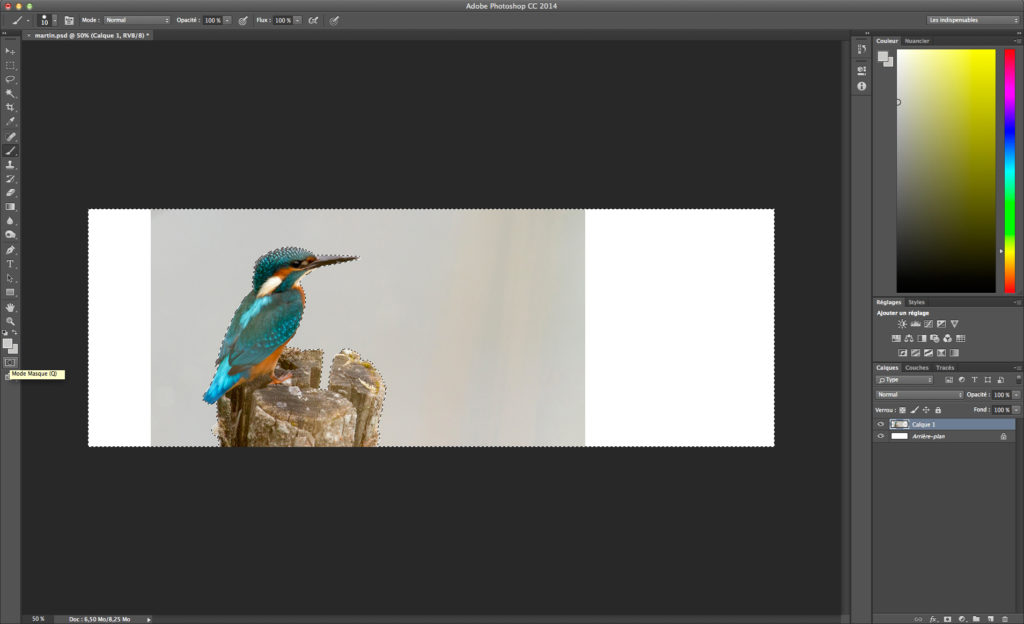
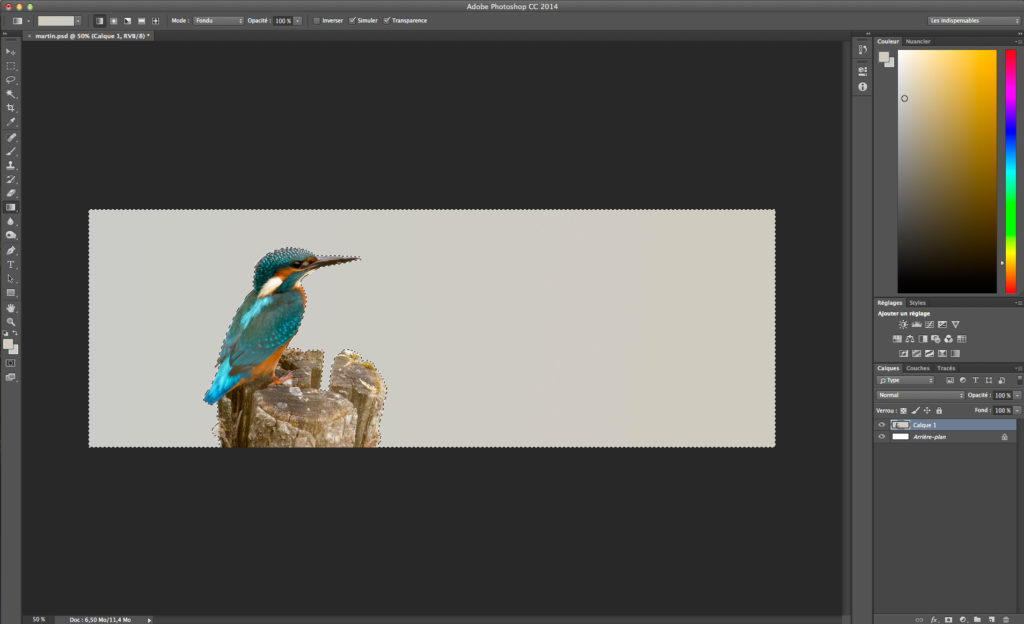
I deactivated the mask mode and the selection appeared in dotted line again:
I then chose the gradient tool and clicked on the 2 colour squares each on one side of the image for a more natural finish:
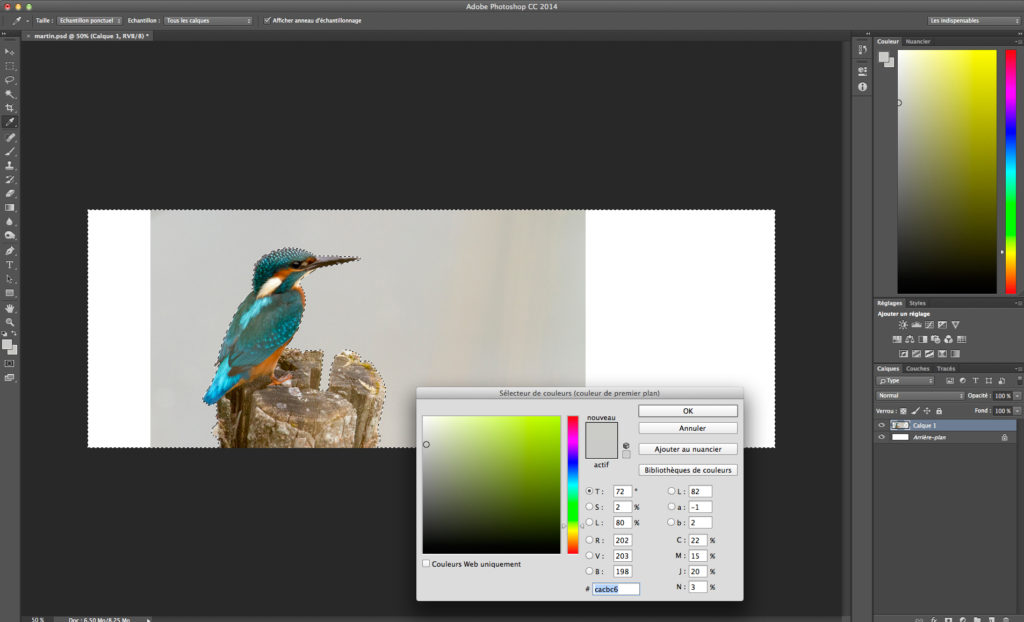
I drew a horizontal line on the image so the gradation set up:
All that is left for me to do is re-size the image to comply with Aurel’s criteria:
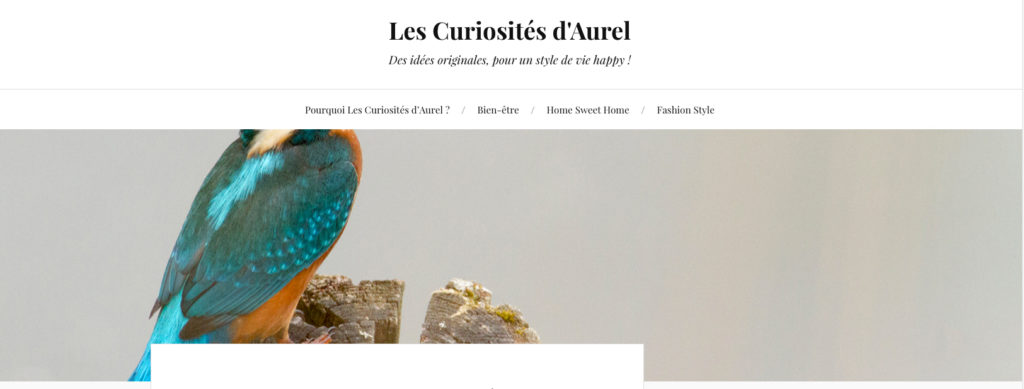
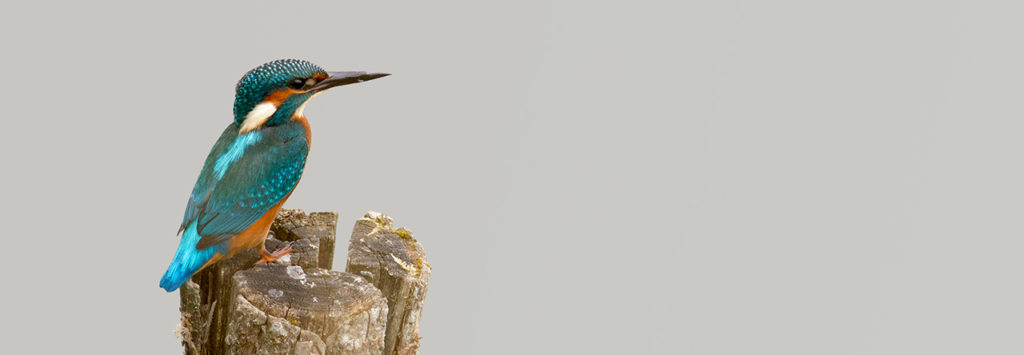
Done! Here is the final banner:
Disclaimer: I do not pretend to have THE best method of proceeding, but I hope this one can help you!